AX-144 CB to 10M

VK3ZYZ

Moderator
Staff member
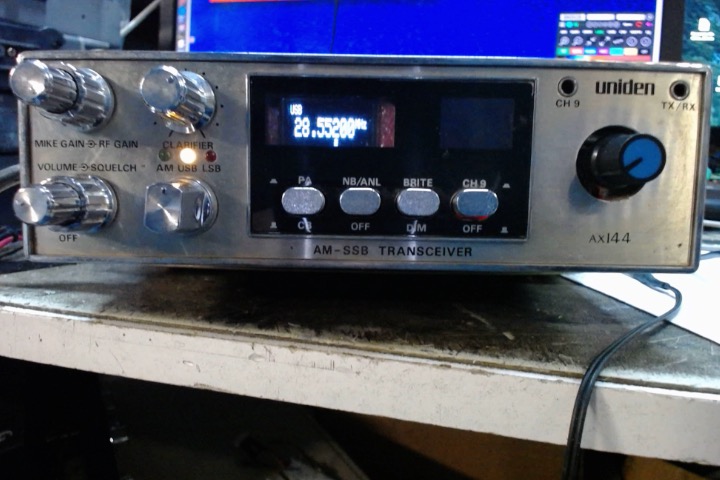
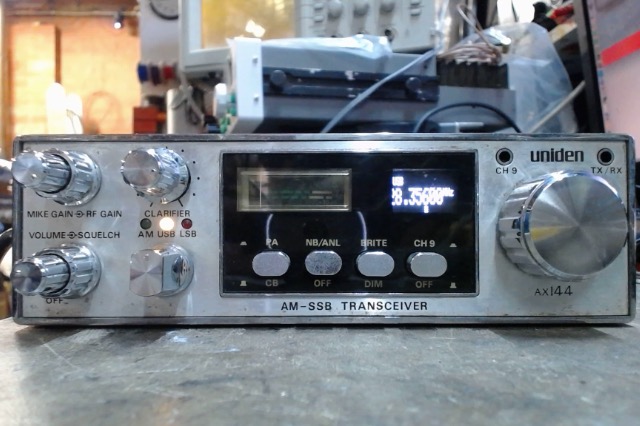
I've started on the AX-144 CB chassis.
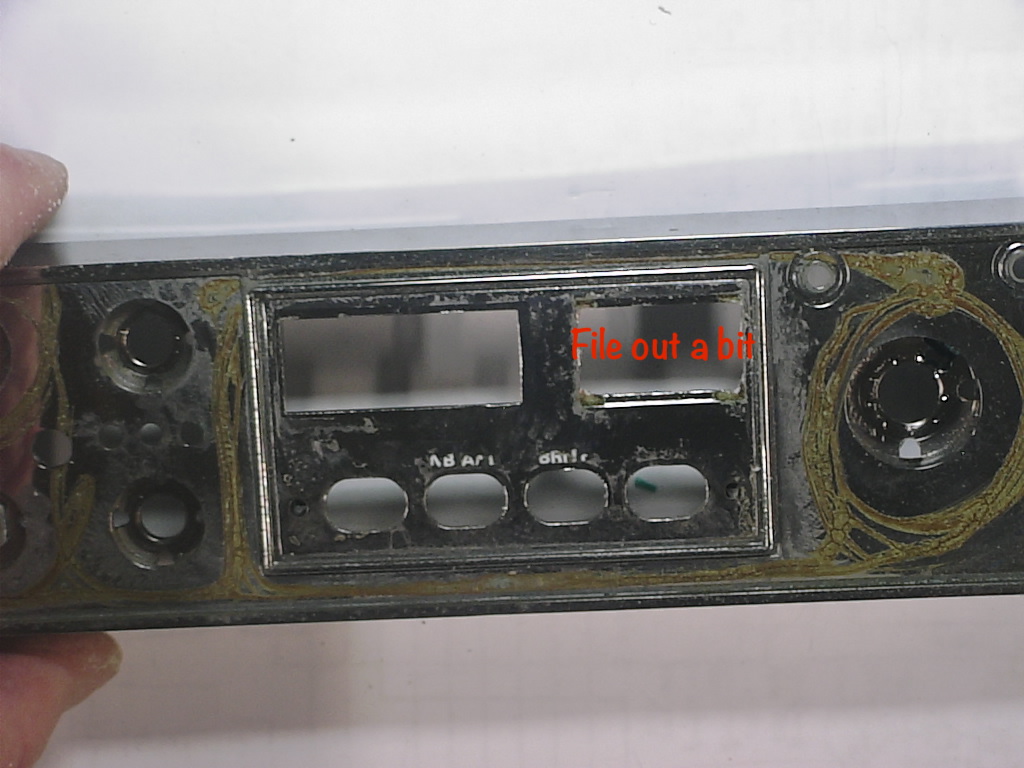
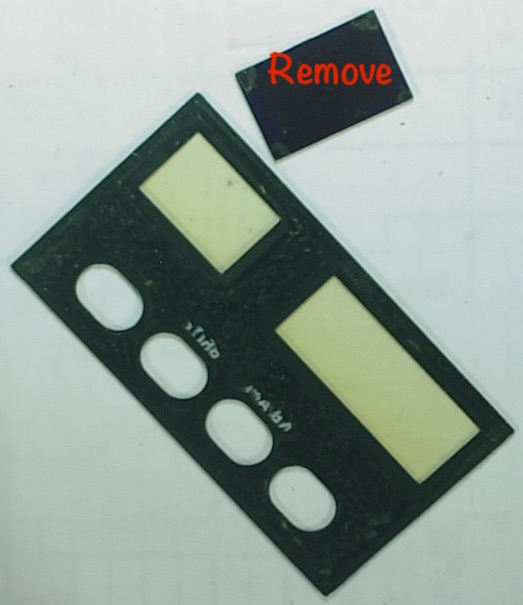
First, I removed the channel switch and display.
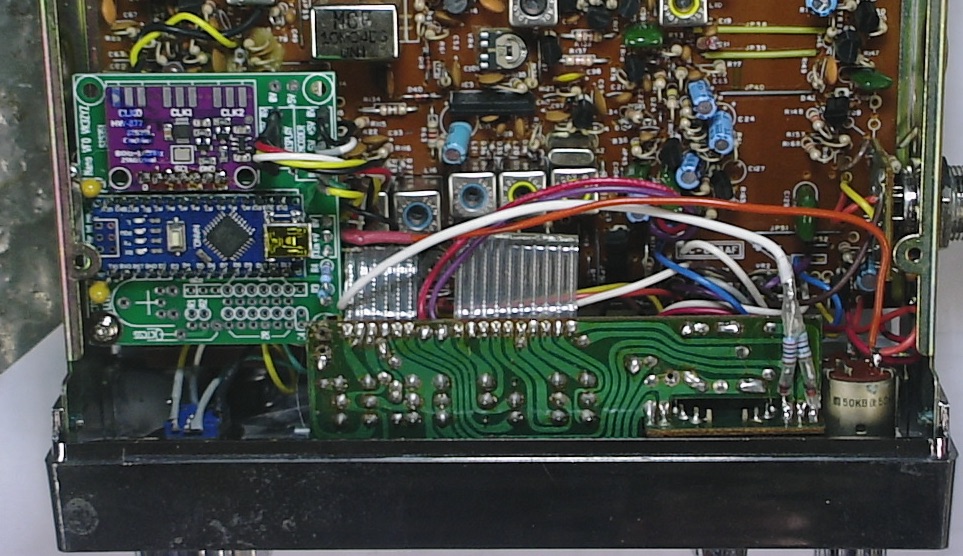
Then, TR19, TR20 and TR22, along with the PLL chip.
AX-144 Mods2.JPG


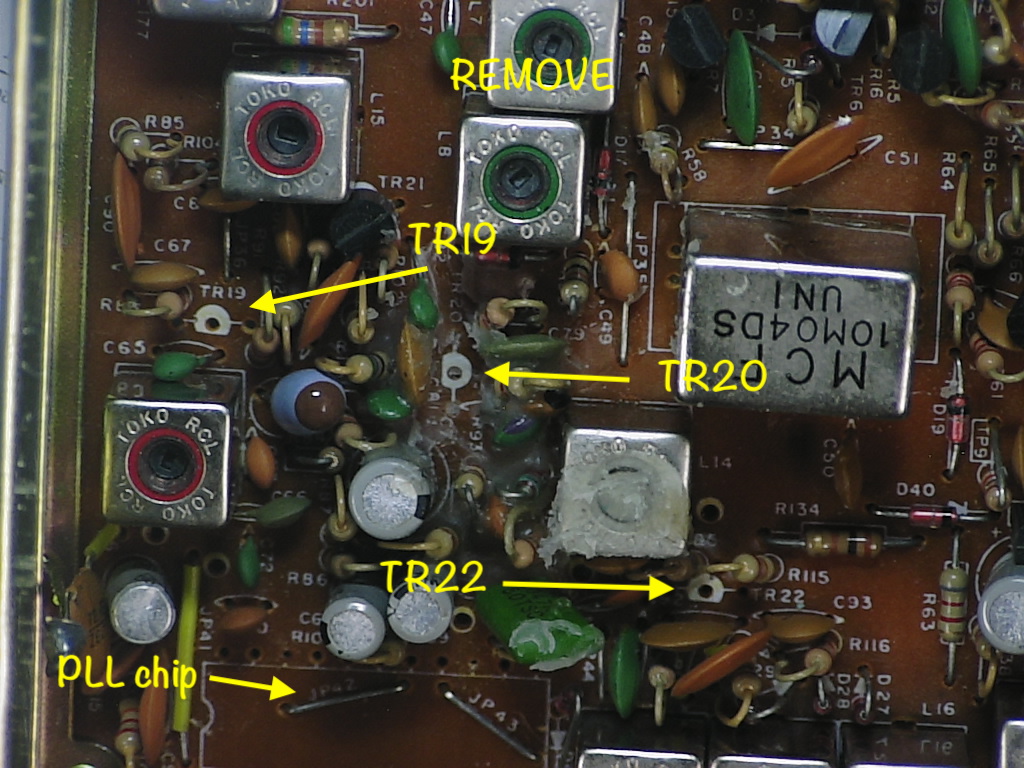
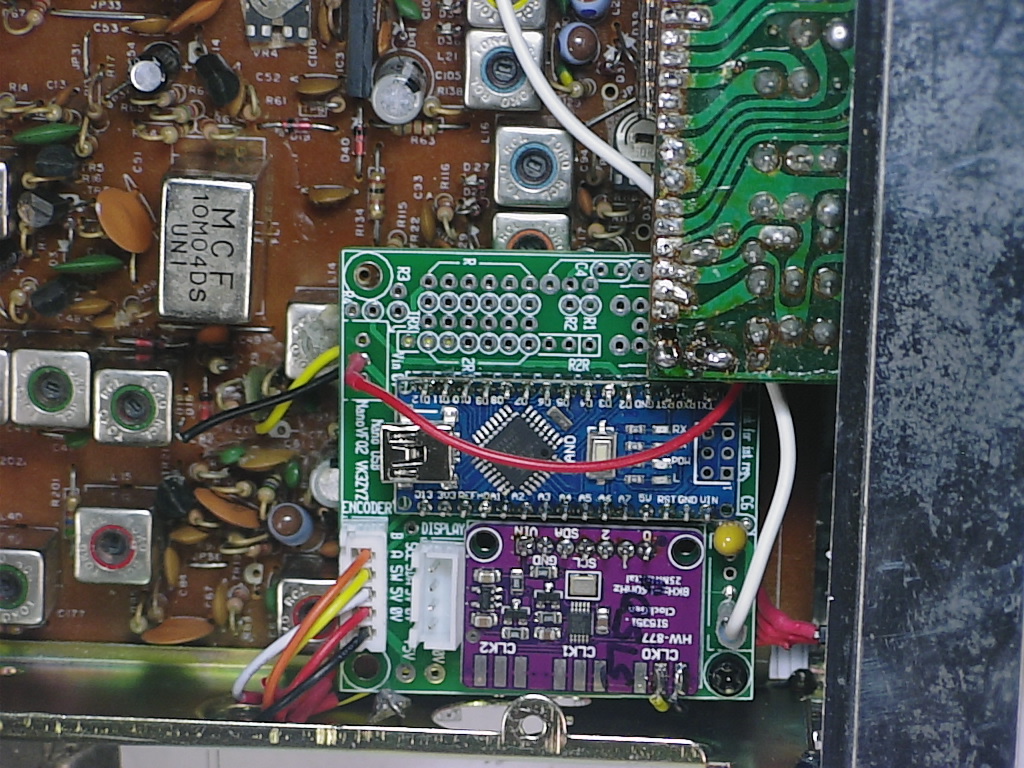
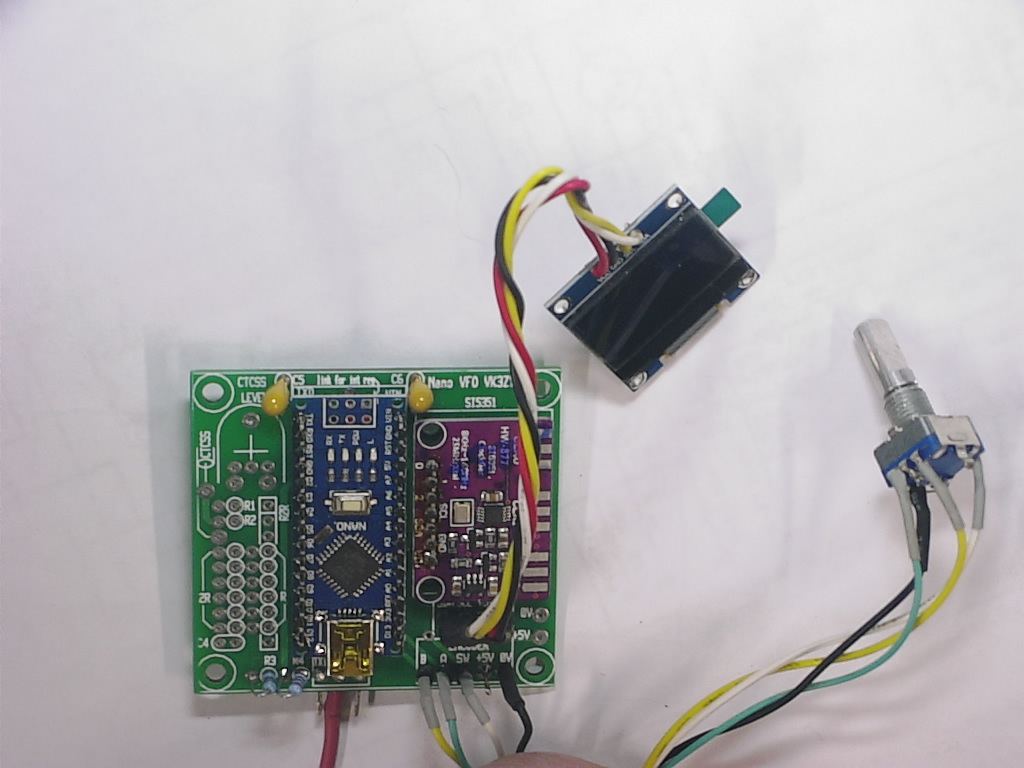
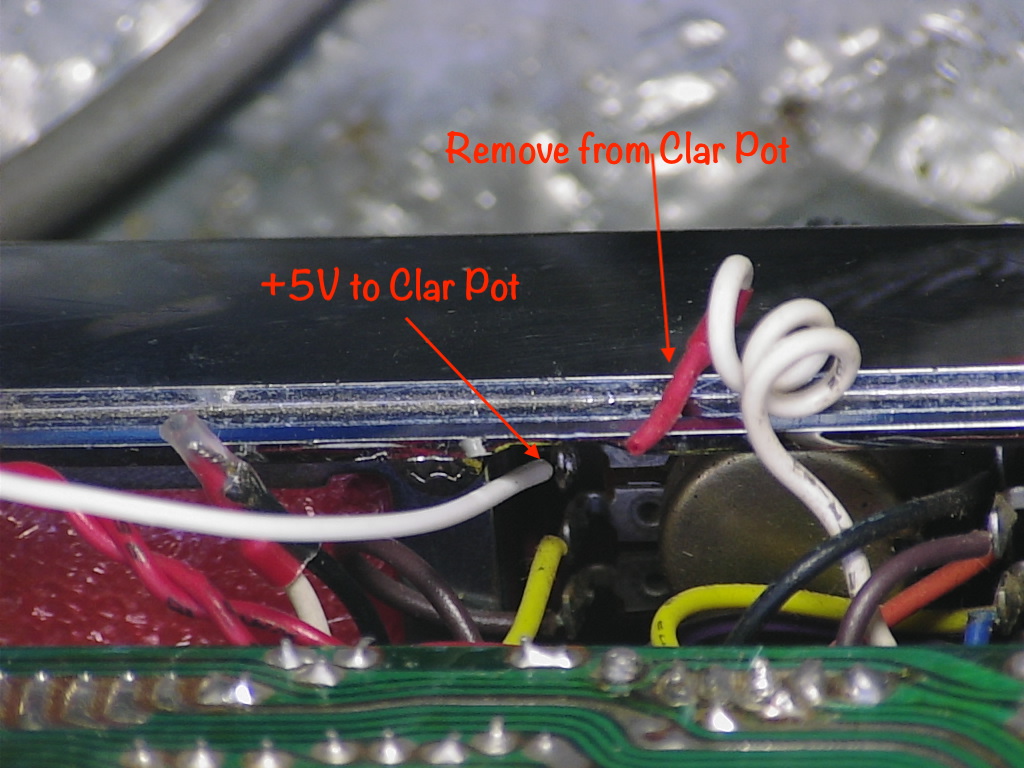
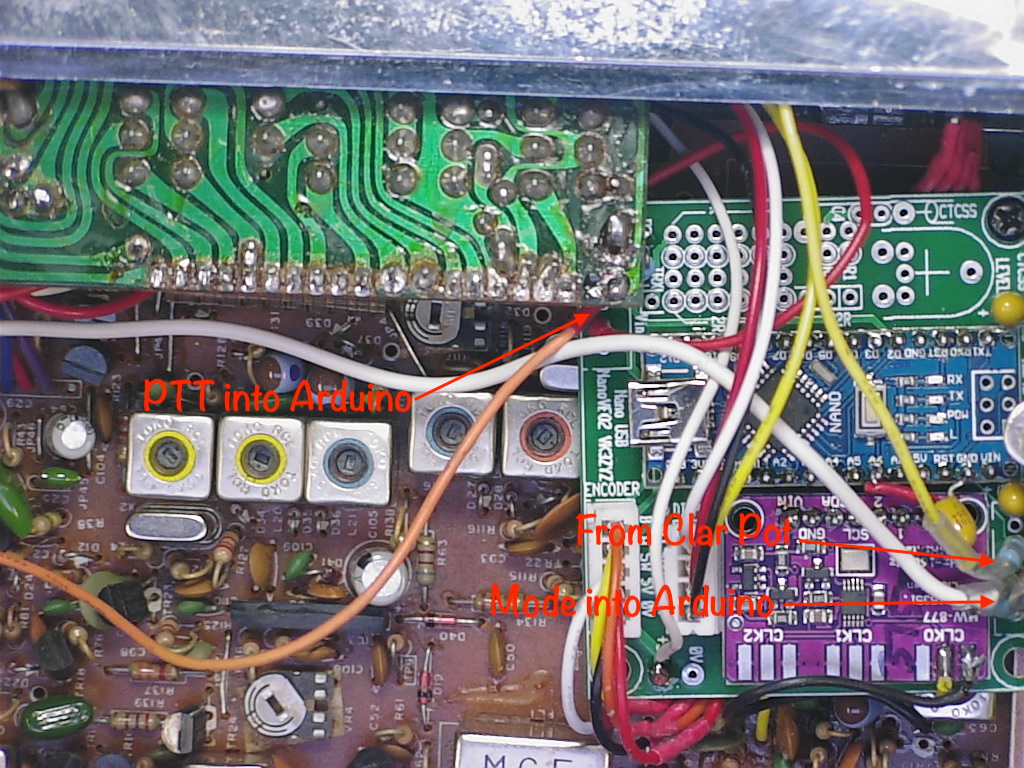
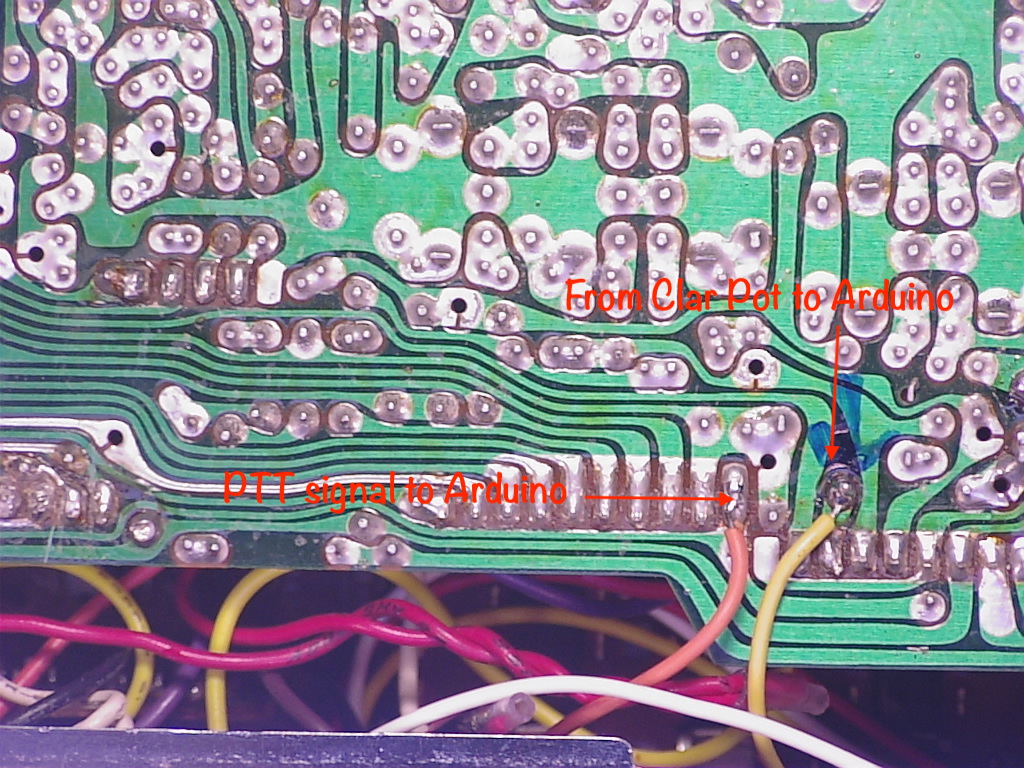
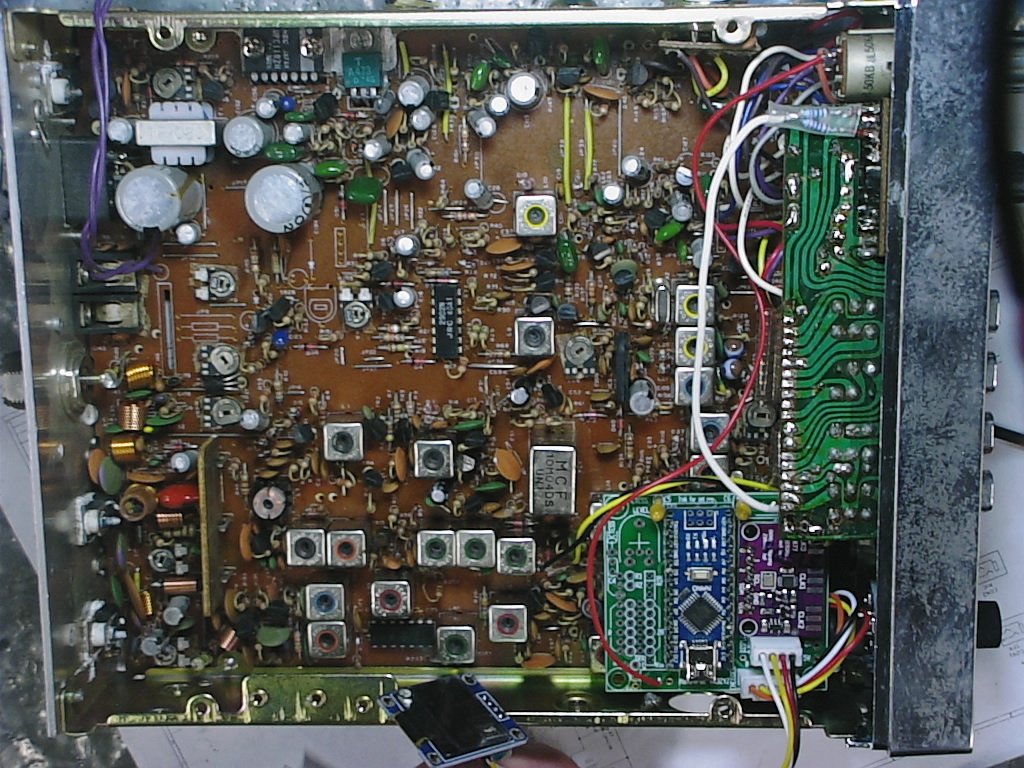
I'm using one of my Arduino synth boards to produce the VFO signal, injected to TR20 Emitter.
AX-144 VFO input.JPG


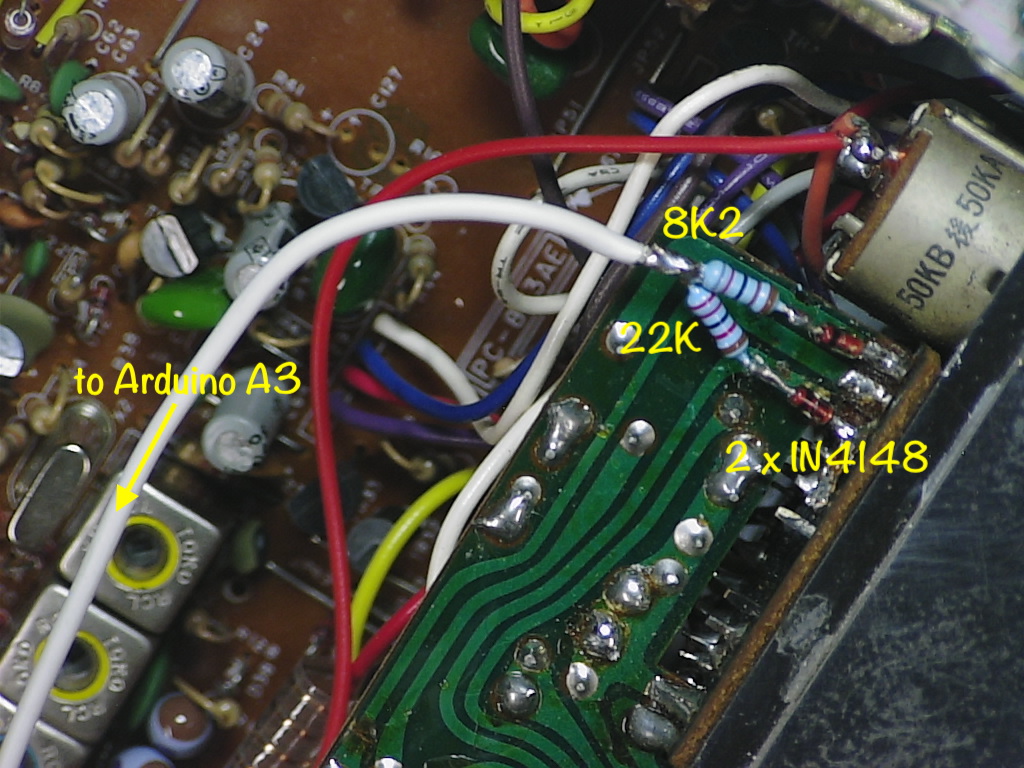
To tell the Arduino the mode, some diodes and resistors are added to the mode switch to produce an analog signal.
AX-144 Mode.JPG


I made a mistake in that the leads to the encoder are to short so the board cannot fit with USB access :(
AX-144 Synth Mounted.JPG


Also, the OLED display is not fitted as the only ones I have are Yellow/Blue and that does not show through the coloured front panel.

Here is the code so far and I'll add the circuit later.
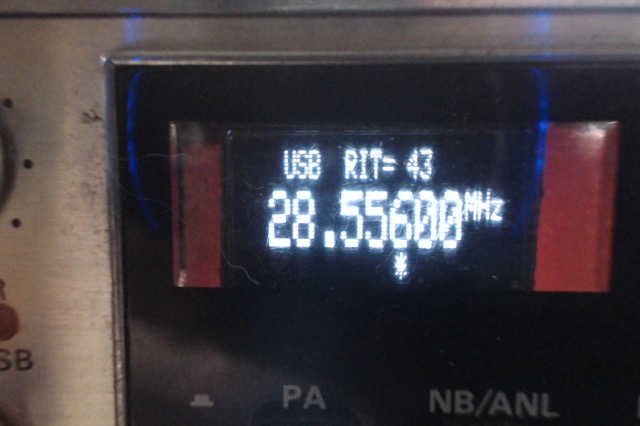
It also appears I have an intermittent in the AM and the USB does not run. The power feed to the 10.695 crystal is lost somewhere on USB. LSB works on as does AM (most of the time).
To be continued......
EDIT: New code now in post #9
 
Last edited:

VK3ZYZ

Moderator
Staff member
This morning I found the break in the solder joint that stopped USB working. Also, some leads have been lengthened to also the PCB to mount correctly allowing the USB lead to be plugged in for programming.
AX-144_Synth Mounted2.JPG


I re-ran the Si5351 calibration routine to get the correct calibration number so the frequency is now much more accurate.
Now all I need is some activity on 10M!
 

VK3ZYZ

Moderator
Staff member
Photo on 21-12-2023 at 8.25 PM.jpg

I found a white OLED on an old project but it did not show well enough through the coloured chennel display gap. And, as the meter in this set was very dead, that space was made use of.
EDIT: Post #5 layout is a better front.
 
Last edited:

VK3ZYZ

Moderator
Staff member
Photo on 1-01-2024 at 11.46 AM.jpg

Here is the second one. It took about 6 hours total to do the complete modification so it so a pretty quick one!
The OLED display in in the old LED display position and there are some mods needed to make that work.
The front may not need to be removed, if you can push the plastic overlay off while in the set. I removed it but next one I will try to do the front mods while it is still on the radio as that will be a lot quicker!
AX-144_frontRemoved.JPG

Also, the hole needs to be enlarged a bit and, but the black screen still covers the display a little.

Then the clear plastic overlay carefully pushed off so the purple cover can be popped off.

AX-144_Perspex.JPG


Here is a detail of the VFO board connections using an encoder that does not have the PCB attached. This encoder with the flat on one side of the shaft allows the original channel knob to be used.
VFO-Board_connections.JPG


AX-144_VFO_2_installed.JPG
 
Last edited:

VK3ZYZ

Moderator
Staff member
I have managed to grow a new meter into the set, salvaged from an old AM CB, even tho the meter had to be mounted the other way up, and the red LSB LED was blown so that is now replaced.
It is odd, both AX-144 sets I've done had sus meters.
 

VK3ZYZ

Moderator
Staff member
I've started on a mod to see if I can get the RIT working ok.
Photo on 6-2-24 at 8.00 pm.jpg

There is still work to be done but I think it may be ok, eventually.
Pick the RIT from the PCB...

The original Clarifier pot supply is disconnected and it is now fed from the Arduino +5V supply.
ClarPotSupply.JPG


And, below, the RIT (Clarifier pot) signal goes to the Arduino Nano A6 via a 10K resistor... (yellow wire)
The mode is the white wire,
and the PTT is the orange wire, with a series R4 = 8K2 and R3 = 10K to gnd (mounted on the VFO PCB).

AX-144 Arduino inputs.JPG


Here are the connections from the main PCB to the Arduino.
AX-144 to Arduino.JPG


And A6 is pulled down with a 12K and a filter cap....
EDIT: The PTT is now wired in and the CLAR pot is fed from +5V, not the RX 8V supply. The 12K resistor is not used now.
AX-144_RIT_A6_2.JPG


Updated the code to a working one, now with the clarifier range of +/- 1.2Khz. Also, the frequency displays inverts on TX as in the synths for other sets, like the FM828 etc.
 

Attachments

Last edited:
Top